Authentication and authorization are the digital gatekeepers of a web app, playing pivotal roles in ensuring a secure and controlled user experience. One such tool which can help us do this task for us is Keycloak.
Keycloak is an open-source Identity and Access Management (IAM) tool that handles authentication and authorisation of applications. It acts as an identity broker, allowing users to authenticate with their preferred identity provider and apply different authorisation mechanisms, such as role-based or attribute-based.
This article will guide you through the process of setting up a nextjs application with authentication using a widely-used library, next-auth. We will be using keycloak as our identity provider for next-auth application.
Contents
A. Bootstrapping keycloak server
B. Setting up nextjs along with next-auth
C. Refreshing access tokens
D. Federated logout
E. Securing pages with middleware
F. Customising sign in and sign out routes
(A & B are discussed in this part, for C–F refer part 2 of this article)
Prerequisites
Make sure the following software tools with appropriate versions is available on your machine.
- Node.js ≥ v18
- Docker ≥ v24
To install node. I recommend using nvm.
A. Bootstrapping keycloak server
Step 1: Setup a keycloak server
We will use docker to quickly provision a keycloak server. The below command will bootstrap a development keycloak server on port 8080 with default username and password as admin.
We will be using keycloak version 22.0.4 in this article
docker run -p 8080:8080 -e KEYCLOAK_ADMIN=admin -e KEYCLOAK_ADMIN_PASSWORD=admin quay.io/keycloak/keycloak:22.0.4 start-dev
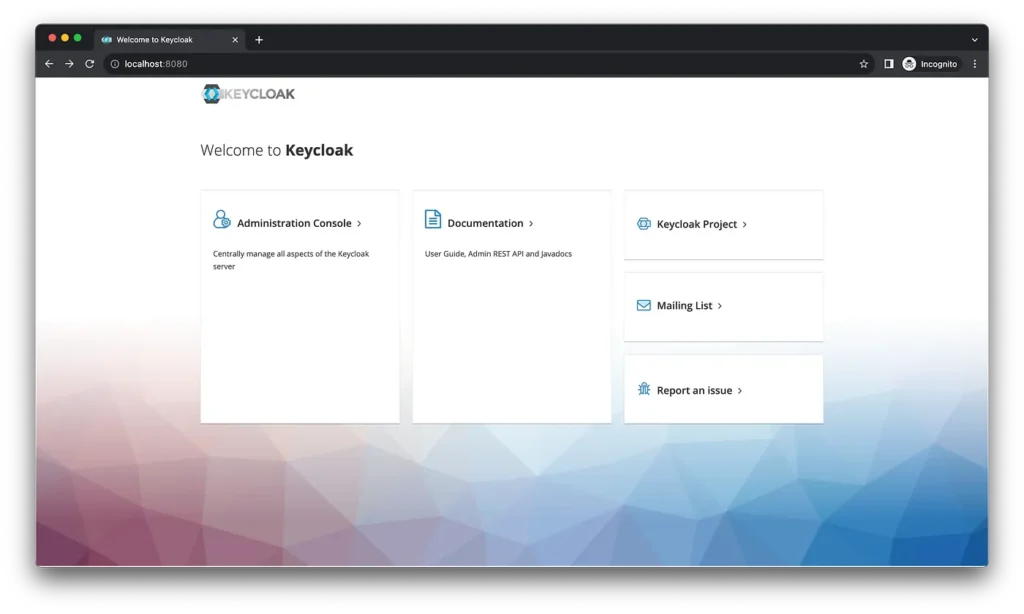
Go to http://localhost:8080 to verify the keycloak server is running.
Note that this method of running keycloak server should not be used in production.
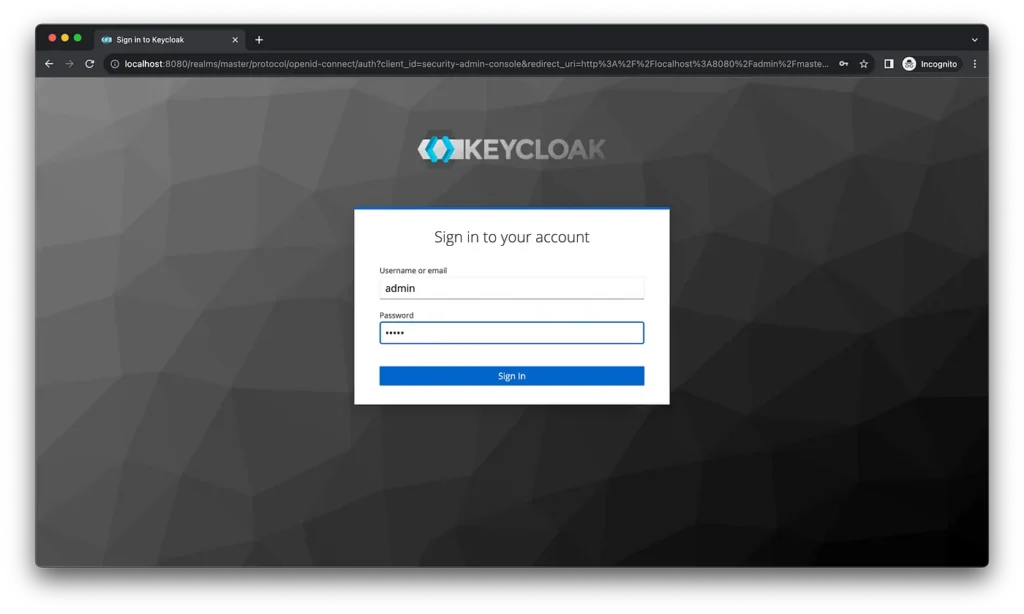
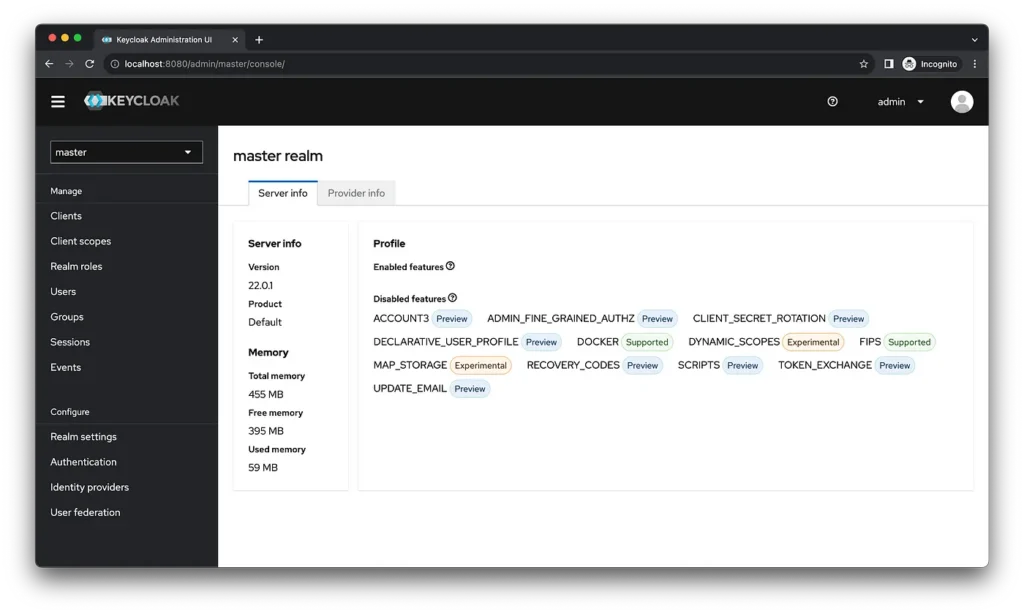
Step 2: Login to Keycloak security admin console
Go to http://localhost:8080/admin. Enter the username and password as admin. By default we will be logged in to master realm.
Step 3: Create a new realm
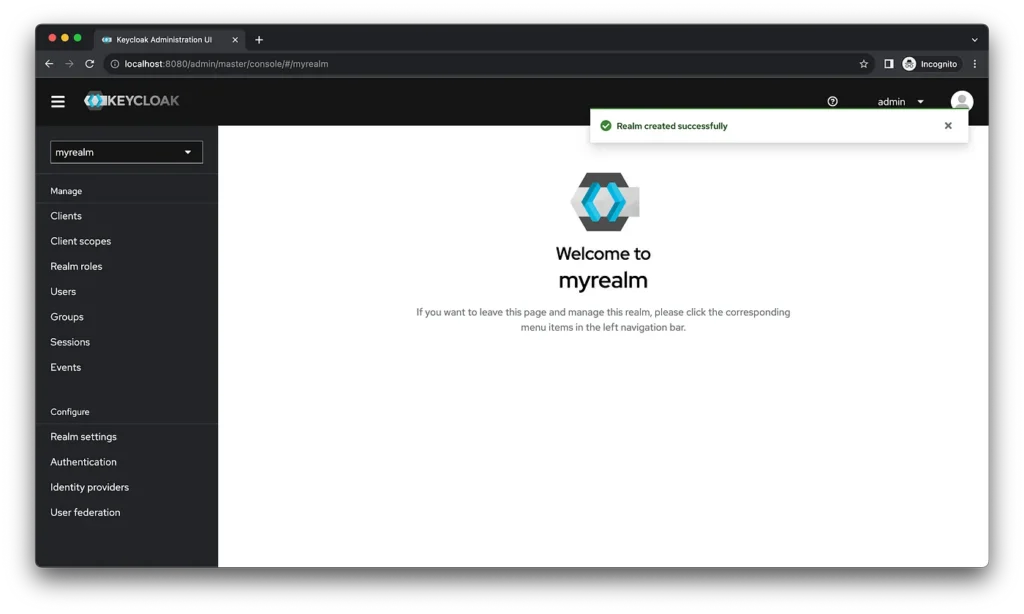
Keycloak comes with a default realm called master. A realm is like a tenant. Each realm manages a particular set of users, credentials, roles and groups. The default realm master must only be used to manage keycloak. To manage our applications, we will create a new realm. Use the following link to add a new realm. Let us name our realm myrealm.
http://localhost:8080/admin/master/console/#/master/add-realm
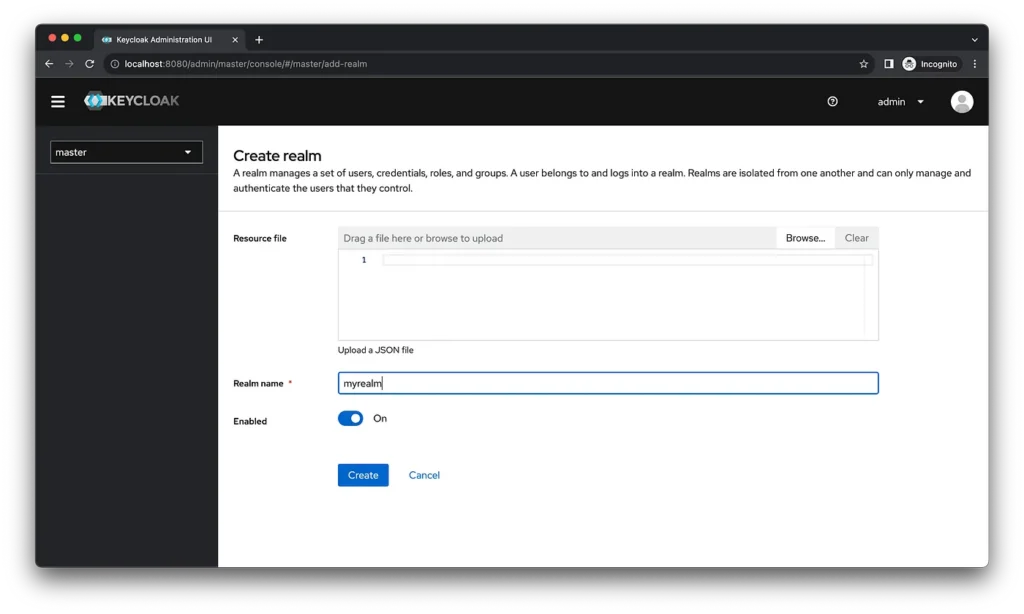
Make sure to change from master realm to myrealm for subsequent steps.
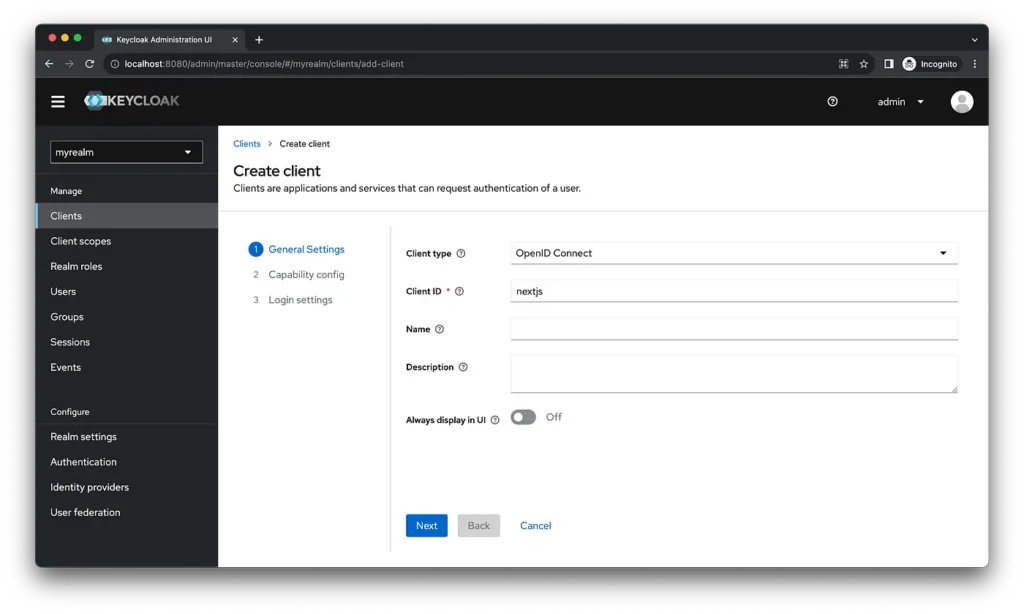
Step 4: Create a client under myrealm
Clients are entities which will request keycloak to authenticate user. In our case, the Next.js application will be the client.
Keycloak offers two types of clients: OpenID Connect and SAML. In this article, we will only focus on OpenID Connect.
Go to http://localhost:8080/admin/master/console/#/myrealm/clients/add-client.
Choose the client type as OpenID Connect and set the client id as “nextjs”. Click “Next” to proceed further.
To enable client authentication, select the standard flow for the authentication process. Then, click “Next” to configure the login settings.
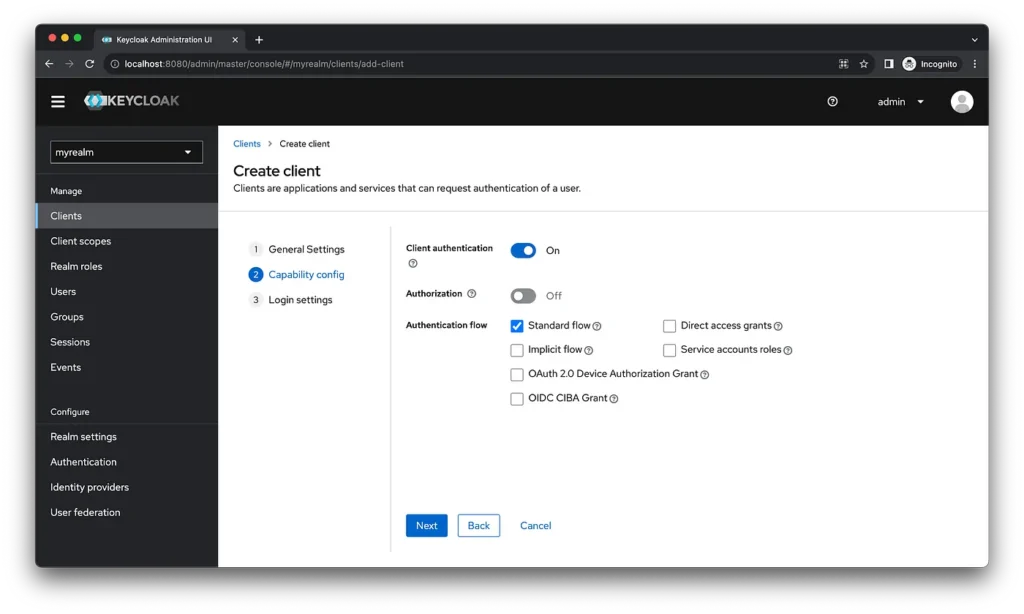
The details of redirect URIs can be found from REST API page of next-auth library.
Since we will be building our own logout functionality, we will provide URL of Nextjs application as post logout redirect URI. The URL will be http://localhost:3000

Click save to create client.
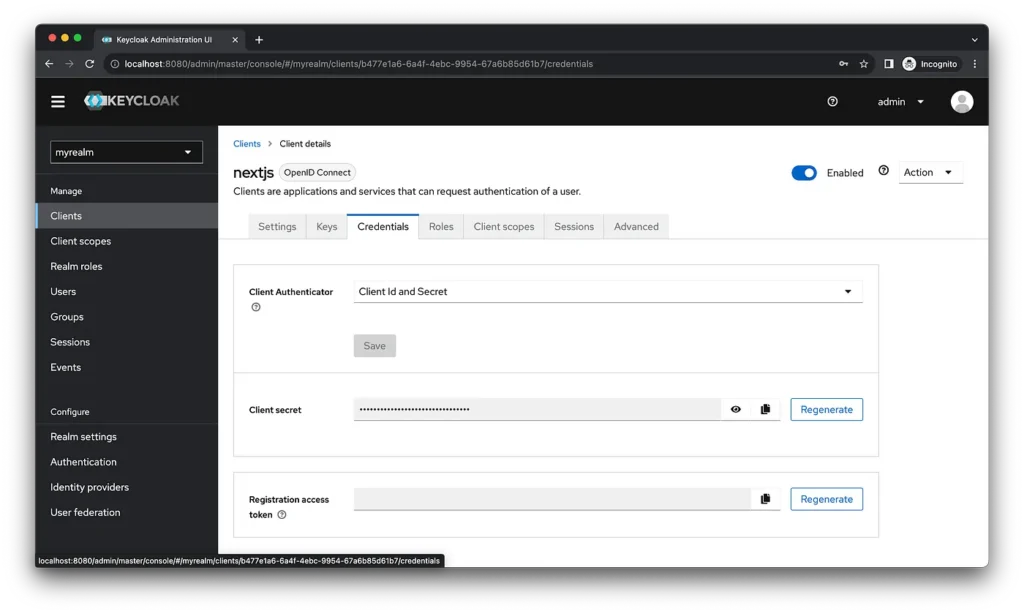
Step 5: Get the client secret of the nextjs client id
Get the client secret from Credentials tab of the client.
Step 6: Create a user in myrealm
Go to http://localhost:8080/admin/master/console/#/myrealm/users/add-user.
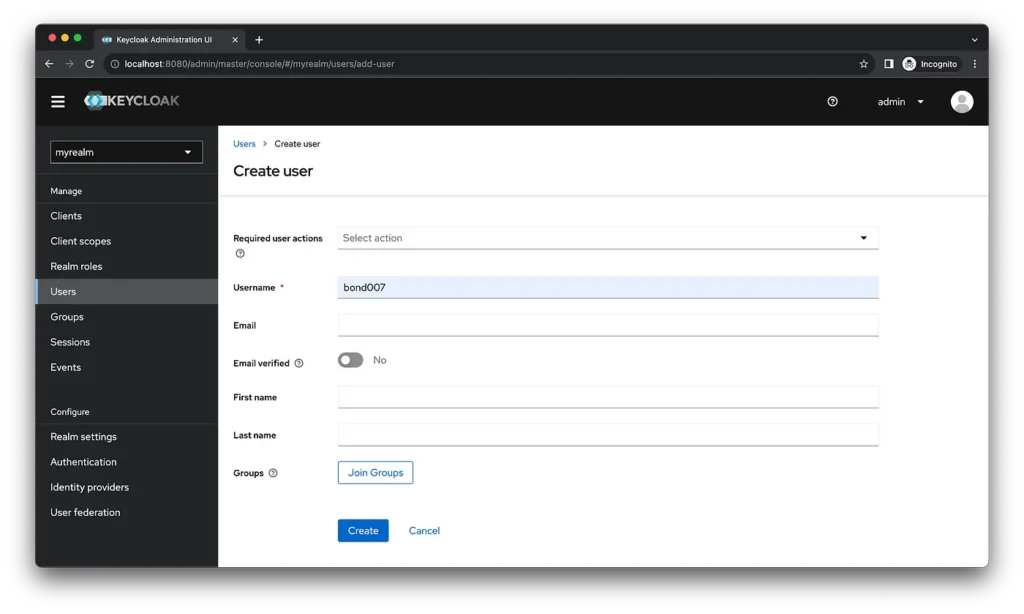
Create a user with the given username.
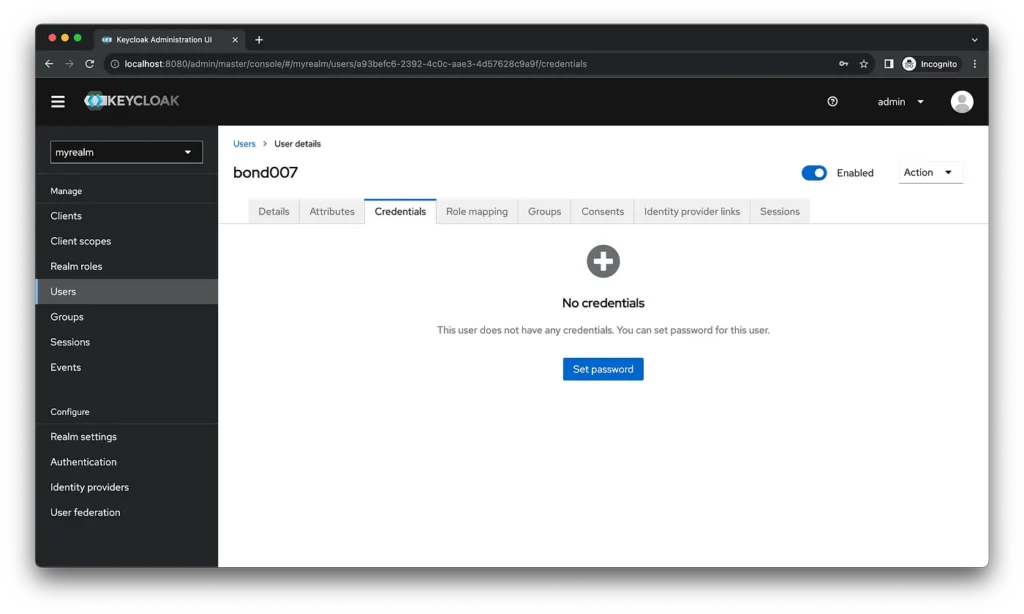
Also go to credentials tab of the created user and set the password.
The initial setup of keycloak is done. We will now proceed with creating a Next.js application.
B. Setting up nextjs along with next-auth
Step 1: Create a Next.js application
We will use the create-next-app cli to bootstrap our nextjs application. We’ll be using the Nextjs 13 with the app router. This command will also prompt for the following options. To know more, refer to installation guide of Next.js.
npx create-next-app@13.5.4
✔ What is your project named? … nextjs-keycloak
✔ Would you like to use TypeScript? … No / Yes
✔ Would you like to use ESLint? … No / Yes
✔ Would you like to use Tailwind CSS? … No / Yes
✔ Would you like to use `src/` directory? … No / Yes
✔ Would you like to use App Router? (recommended) … No / Yes
✔ Would you like to customize the default import alias? … No / Yes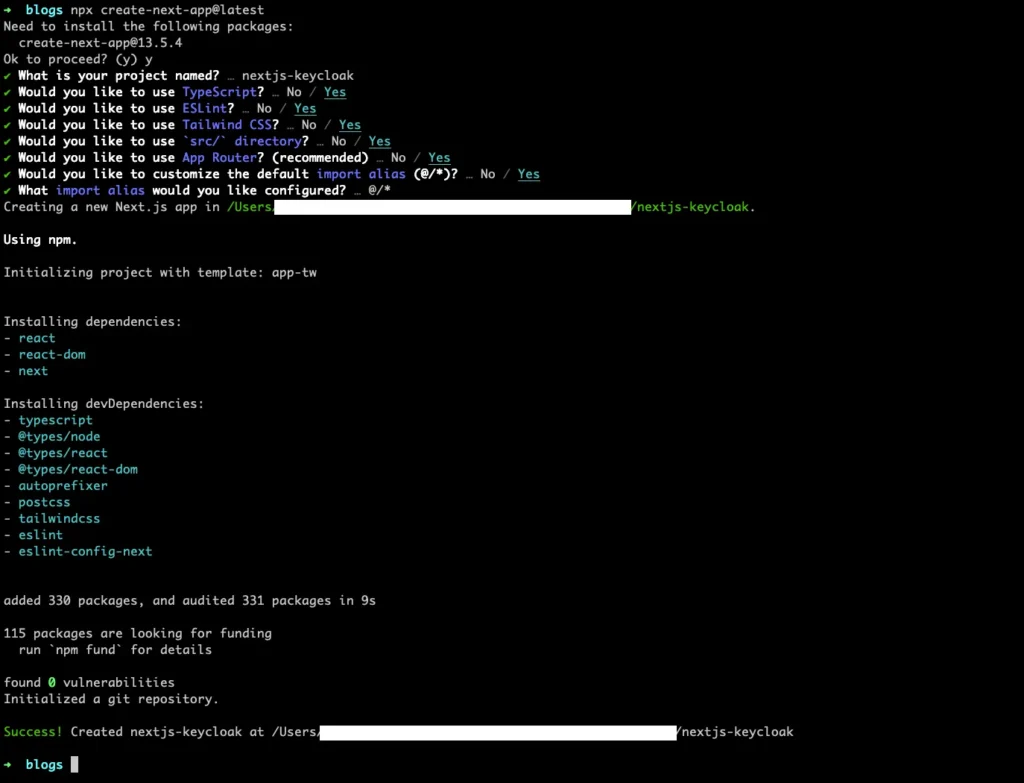
Step 2: Install next-auth as a dependency
cd nextjs-keycloak
npm install next-auth@4.24.3
Step 3: Configure the authOptions with KeycloakProvider for next-auth and initialize route handler.
Create a file with the following command from the root of the project.
mkdir -p "src/app/api/auth/[...nextauth]" && touch "src/app/api/auth/[...nextauth]/route.ts"
Add the following code to the file created. This will configure Keycloak provider from the environment variables.
// src/app/api/auth/[...nextauth]/route.ts
import { AuthOptions } from "next-auth";
import KeycloakProvider from "next-auth/providers/keycloak"
export const authOptions: AuthOptions = {
  providers: [
    KeycloakProvider({
      clientId: process.env.KEYCLOAK_CLIENT_ID,
      clientSecret: process.env.KEYCLOAK_CLIENT_SECRET,
      issuer: process.env.KEYCLOAK_ISSUER
    })
  ]
}
const handler = NextAuth(authOptions);
export { handler as GET, handler as POST }
If you’re using an IDE like VS Code you might have red squiggly lines below clientId and clientSecret. You might need to extend the ProcessEnv interface. Create a file with the following command from the root of project.
mkdir types && touch types/node-env.d.ts
Extend the ProcessEnv interface with the following code.
// types/node-env.d.ts
declare namespace NodeJS {
  export interface ProcessEnv {
    KEYCLOAK_CLIENT_ID: string
    KEYCLOAK_CLIENT_SECRET: string
    KEYCLOAK_ISSUER: string
  }
}
We can add the environment variables to a file named .env.local which will be automatically picked up by the Nextjs server.
touch .env.localKEYCLOAK_CLIENT_ID="nextjs"
KEYCLOAK_CLIENT_SECRET="<client_secret>"
KEYCLOAK_ISSUER="http://localhost:8080/realms/myrealm"Replace the values <client_secret> collected from step 5 of previous section.
We also need to configure NEXTAUTH_URL and NEXTAUTH_SECRET. These are essential for configuring of next-auth. To know more, check the guide. Let’s add following environment variables to .env.local.
NEXTAUTH_URL="http://localhost:3000"For NEXTAUTH_SECRET, create a secret by running the following command and add it to .env.local. This secret is used to sign and encrypt cookies.
openssl rand -base64 32// .env.local
...
...
NEXTAUTH_SECRET="<secret generated from previous command>"
Let’s do some testing before integrating it with frontend.
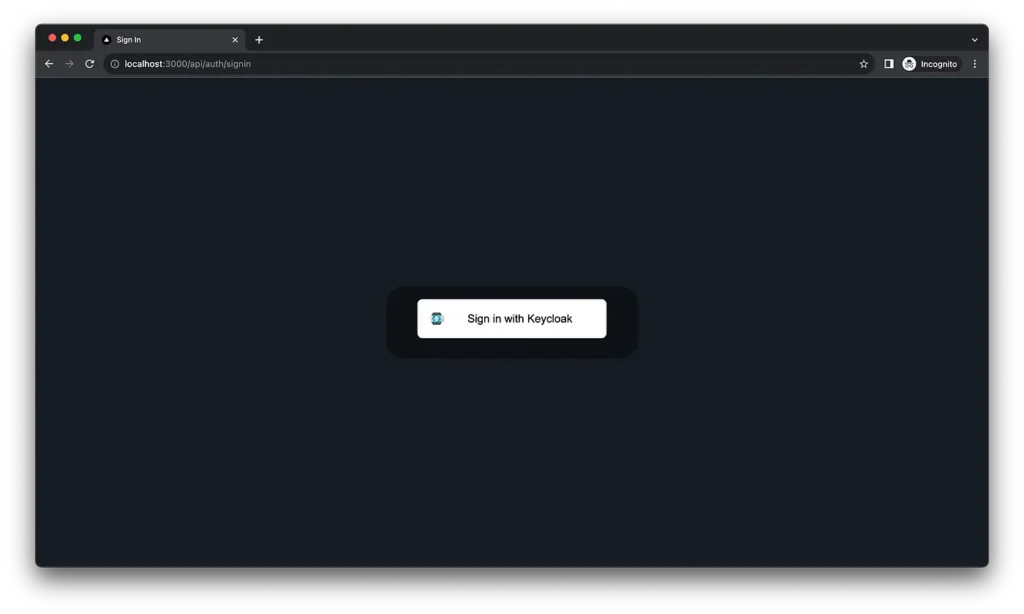
npm run devGo to http://localhost:3000/api/auth/signin. We will see an un-branded signin page. This route is provided by next-auth library.
Troubleshooting
At the time of writing this article, I was getting the following error while trying to sign in. This might be because of this issue.
https://next-auth.js.org/errors#signin_oauth_error connect ECONNREFUSED ::1:8080 {
  error: {
    message: 'connect ECONNREFUSED ::1:8080',
    stack: 'Error: connect ECONNREFUSED ::1:8080\n' +
      '    at TCPConnectWrap.afterConnect [as oncomplete] (node:net:1494:16)\n' +
      '    at TCPConnectWrap.callbackTrampoline (node:internal/async_hooks:130:17)',
    name: 'Error'
  },
  providerId: 'keycloak',
  message: 'connect ECONNREFUSED ::1:8080'
}
This can be solved by passing the following Node CLI option. Start the server with the following options.
NODE_OPTIONS='--dns-result-order=ipv4first' npm run dev
Step 4: Setup Basic React Server component
Let’s setup a basic server component which will show protected data when authenticated and would prompt login when unauthenticated.
Modify src/app/page.tsx with the following code.
// src/app/page.tsx
import { getServerSession } from 'next-auth'
import { authOptions } from './api/auth/[...nextauth]/route'
import Login from '../components/Login'
import Logout from '../components/Logout'
export default async function Home() {
  const session = await getServerSession(authOptions)
  if (session) {
    return <div>
      <div>Your name is {session.user?.name}</div>
      <div><Logout /> </div>
    </div>
  }
  return (
    <div>
      <Login />
    </div>
  )
}
Also create the Login and Logout component by creating the following files.
mkdir src/components && touch src/components/Login.tsx && touch src/components/Logout.tsxAdd the following contents to Login and Logout component.
// src/components/Login.tsx
"use client"
import { signIn } from "next-auth/react";
export default function Login() {
return <button onClick={() => signIn("keycloak")}>
Signin with keycloak
</button>
}
// src/components/Logout.tsx
"use client"
import { signOut } from "next-auth/react";
export default function Logout() {
return <button onClick={() => signOut()}>
Signout of keycloak
</button>
}
Notice the
use clientdirective . This directive is a convention to declare a boundary between a Server and Client Component module graph.
Demo
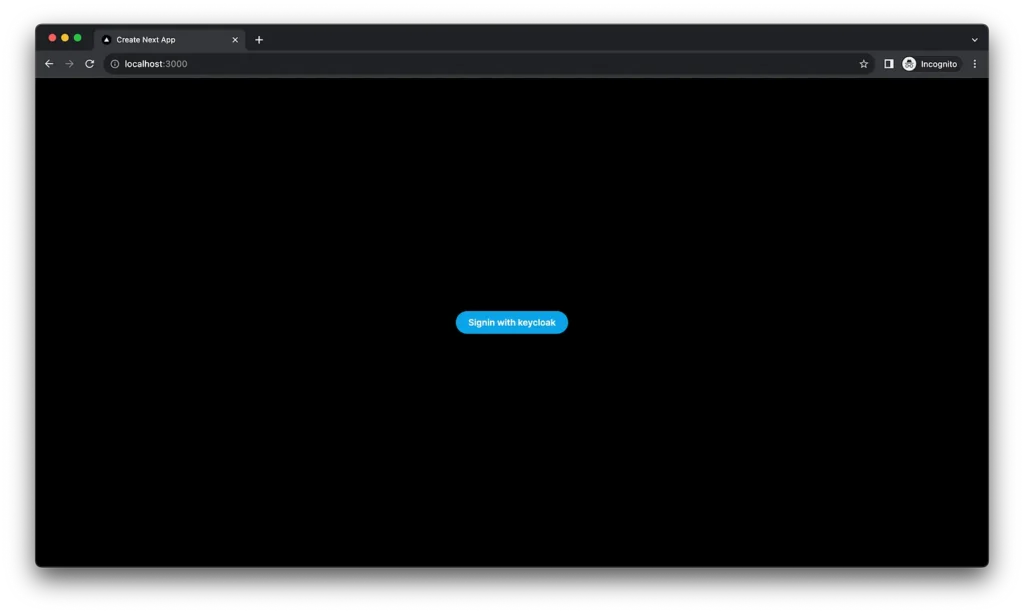
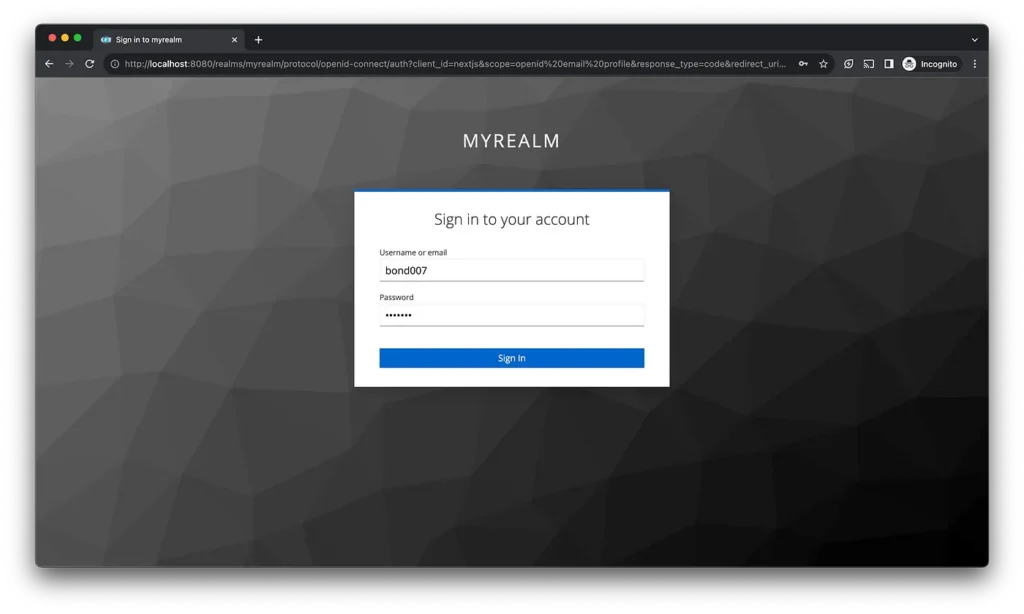
Go to http://localhost:3000. You’ll be prompted to sign in with keycloak.
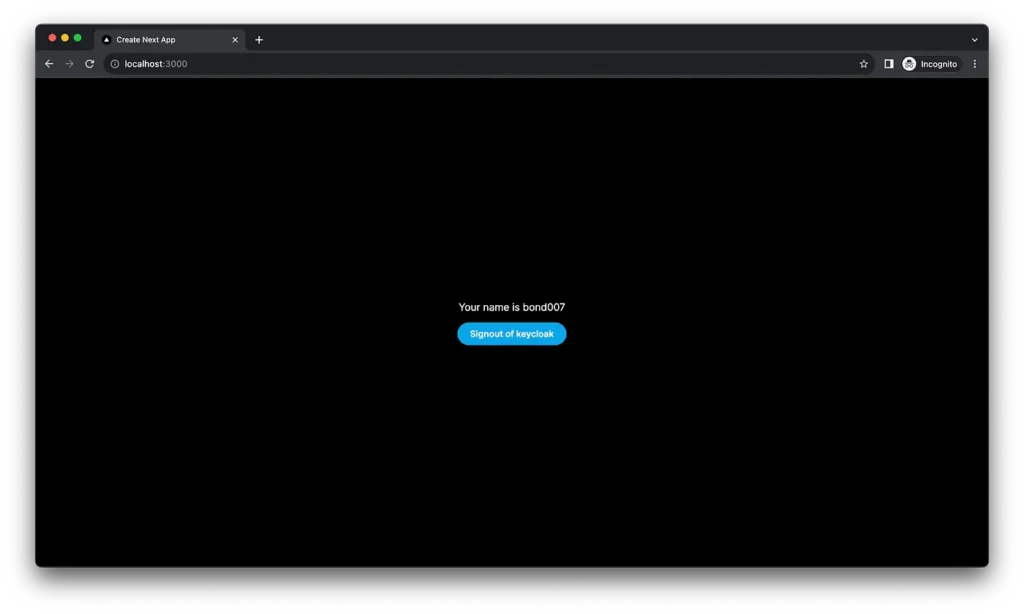
Once you sign in, you will see the name of the account used to sign in, with the logout component.
Conclusion
We have discussed the following features/implementation in detail in this article.
A. Bootstrapping keycloak server
B. Setting up nextjs along with next-auth
C. Refreshing access tokens
D. Federated logout
E. Securing pages with middleware
F. Customising sign in and sign out routes
We will discuss the about how to configure next-auth to have better user experience while keeping security in mind in the second part of this article. I hope you find this article helpful. All code related to this article is available in this GitHub repository.

